
Hardwood floors are durable, but their finish is prone to scratches and scuffs. Your wood floors take continuous abuse from high heels, pet scratches, children’s toys, moving furniture around, etc.
Refinishing—the process of thoroughly sanding floors to create a new surface finish—is expensive and should be done after every decade. However, polishing with a product designed exclusively for your floors is a simple and inexpensive way to restore shine.
Most importantly, it extends the life of your beautiful hardwood. All you need is a flathead mop with a microfiber cleaning pad and commercial wood floor polish in low- or high-gloss sheens to get the desired effect.
Reasons Your Hardwood Floors Look Dull
Scratches

If you have pets with sharp claws like cats and have not placed clean doormats inside and outside entrance areas, your hardwood floor will be prone to scratches. Also, if you frequently wear shoes with solid heels on the floor surface, that leads to scratches. Use some preventative measures to keep them to a minimum.
Redistributing Dirt
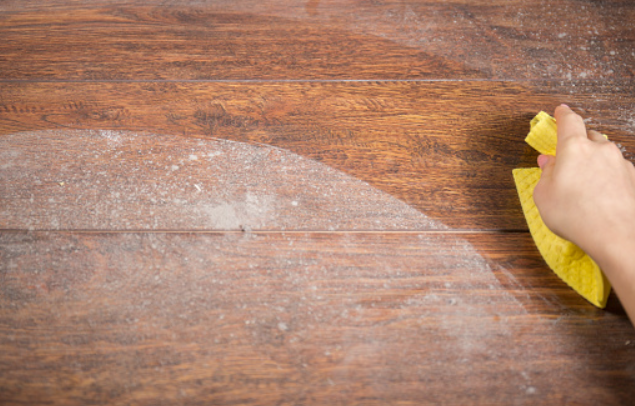
When you use a soiled mop or don’t sweep, mop, or vacuum your floors before you clean, you end up redistributing dirt all over your floor. All the grit and grime get trapped in the cleaning solution and remain on your hardwood floor surface, giving it a dull appearance.
Wax Build-Up on the Hardwood Floor
If you don’t have sealed floors or often use carnauba paste wax to provide shine, the wax accumulates, leading to a dull floor. Even if you only use wax annually, it will eventually build up and become dull on the surface. Consider mineral spirits or similar commercial wax strippers to remove paste wax from your floors before reapplication of a fresh coat.
Using Excess Products While Cleaning
Even if you follow all the steps correctly, using too many cleaning products and harsh chemicals often makes your floor’s glossy surface fade.
Using Harsh Surface Cleaners and Waxes
Several acrylic-based liquids wax in the market today claiming to help your floors may make them get worse. When placed over polyurethane finishes or paste wax, your floor may seem spotty or milky.
To eliminate the milky appearance of acrylic waxes, use mineral spirits and elbow grease on a tiny area at a time. This will help you in fully restoring the original glossiness. You’ll also need to strip and reseal the flooring.
Aggressive cleaning agents like bleach, ammonia, vinegar often harm floor coatings. Ensure you read the instructions and manufacturers’ labels and use a commercial cleaner developed for sealed wood floors.
Leaving a Cleaning Process Half-Completed
After damp mopping when cleaning or even floor waxing a hardwood floor, finish with a thorough buffing to avoid staining. Buff the finish with a dry microfiber mop to achieve a gleaming floor.
How to Polish Wood Floors Without Using Wax
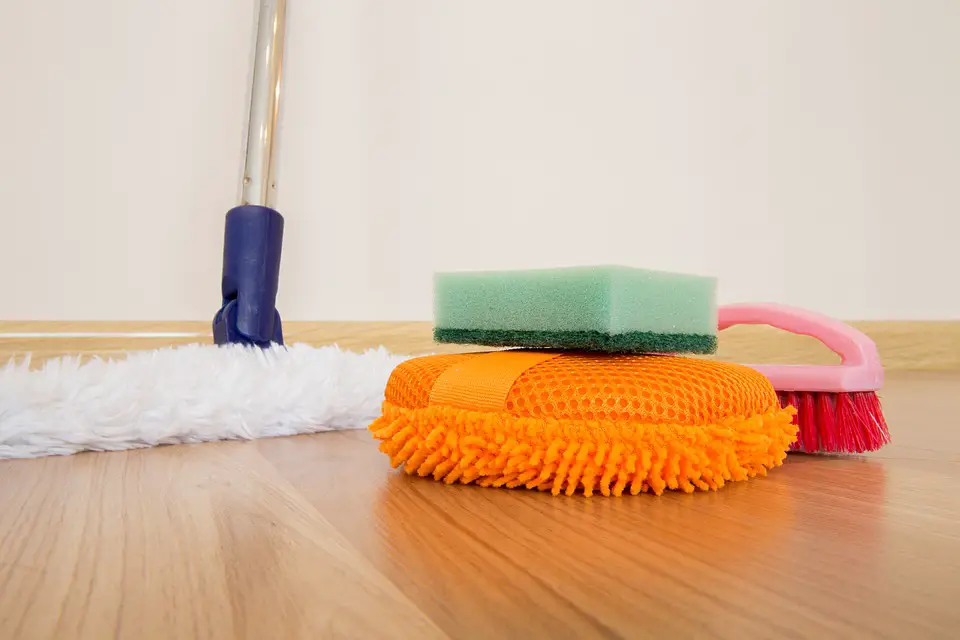
Items you will require to make your hardwood floor shine
- A dustpan and a broom
- Sponges
- Vacuum or dust mop
- Microfiber cloth
- A commercial cleaner for hardwood floors
- Floor polish for hardwood
- Mop with a flathead
Step 1: Remove Dust and Any Grime off Your Wood Floors
Start by removing as much furniture as possible before cleaning the hardwood floor to remove all the dirt and filth. Sweep or vacuum the floor, then mop with a commercial wood floor cleaner or a lightly dampened microfiber mop.
You can also use a solution of half a cup of your preferred dish soap and some clean lukewarm water to remove any remaining filth. It’s advisable to follow the manufacturer’s mixing directions of the wood cleaner. Make the last run over the floors with a clean, damp mop to eliminate cleaner residue. Use a soft, clean towel to dry the surface completely.
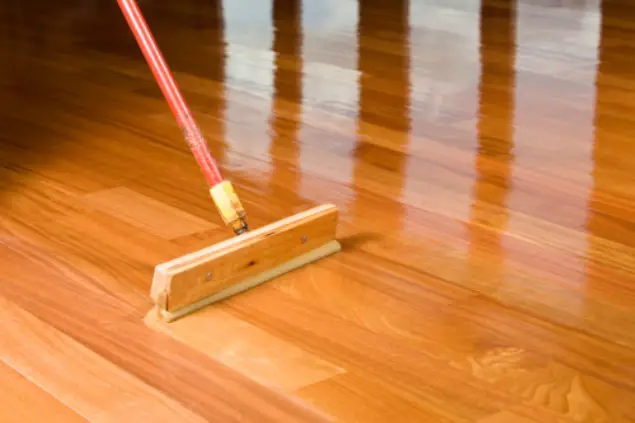
Step 2: Polish the Wood Flooring to a Gleam
Begin polishing from the back corner of the room by sprinkling a tiny amount of wood floor polish over the floor. Follow the polishing trail to the exit. Work the solution back and forth in the wood grain direction using a flat-surface mop, flattening out any air bubbles.
To properly regulate the quantity of polish you have applied, work in small manageable sections.
Also, ensure that every inch of your floor is completely covered. Small layers will dry faster than thick ones, and you can always apply another coat if necessary.
Remember that polish might stain drywall and baseboards, so avoid splattering it on these surfaces. Cover these areas with some tape and newspapers to prevent accidents.
Give the floor surface some time to rest before using it. It’s advisable to allow 6 to 12 hours to get perfect results.
How to Polish Wood Floors Using Wax
Initial Preparation
Take out any carpets and furnishings from the room. Use mineral spirits or some wax stripper of your choice to dampen a soft towel.
Work on a small section of your floor and ensure no wax residues are left off. Using fine-grade steel wool, scrub away the tenacious wax buildup.
To remove dust off any loose wax buildup, then dry-mop your hardwood floor.
If the floor is not thoroughly cleaned after dusting, remove filth with a sponge. Work on small sections using a store-bought hardwood floor cleaner. Also, use homemade wood floor polish off half a cup of your usual dish soap, vinegar, and some warm water. Clean your hardwood floor using a damped mop with clean water to remove any remaining cleanser, then dry with a clean towel.
The Waxing Process
Ensure you wear gloves and a dust mask when working with wax solvents. This cover helps to protect yourself from the fumes that emanate throughout the process. Before applying solid paste wax, get into a comfortable kneeling position (knee pads should come in handy). If you’re using commercial liquid wax, keep your feet up.
Using solid wax, use a putty knife and a soft cloth. For the quickest application of liquid wax, use a sponge mop. Start by scooping a tablespoon of solid wax onto the soft cloth using the putty knife. Pour a small amount of liquid wax from the bottle directly onto the hardwood floor.
Pour a paper-thin layer of solid wax with the towel. If you are using liquid wax, use a sponge instead and work on smaller sections of the hardwood floors at a time. Begin in one corner as you work on waxing your way out through the door and the corridors alike. Don’t forget to wax hardwood floors toward the floorboards. After you’re done with your initial batch of wax, you make a second coat to ensure that every inch of the floor is done.
Allow the first coat to fully dry, which might take at least an hour. Then, apply an additional coat as per the instructions allowing each coat to dry.
Solid wax tends to harden easily into a thick layer, so a single application over finished solid hardwood floors or two coats over raw wood is often sufficient. In contrast, liquid wax typically requires two or three coats.
Allow the final coat of wax to cure until hazy and ready to buff.
Buffing to Get a Shiny Look
Mop on small sections of the floor, using clean towels for solid wax. For liquid, It is advisable to use a sponge mop with a terry cloth. Begin at the same section you began when waxing and buff to the desired luster in the wood grain direction. You can rent and use electric floor polishers to speed up the process.
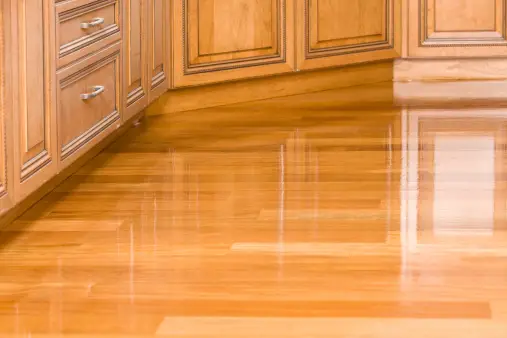
Conclusion
Now that your floors are in good condition keep them that way by placing rugs at entry doors to prevent dirt from being tracked inside. Also, minimize foot traffic on the hardwood floor.
Maintain a consistent cleaning schedule, such as vacuuming the hardwood weekly and deep cleaning the floors once a month.
Avoid using untested homemade cleaning solutions on wood floors, including diluted vinegar or ammonia. They will only dull a surface-finished floor. Instead, try homemade floor polish or cleaners which contain Castile soap for a more natural shine.
These precautions will preserve the luster of your wood floor. You may wish to repeat the polishing process a few times a year as needed, but only four times per year is recommended.